40's Style Trousers

Or, Why to Make a Muslin
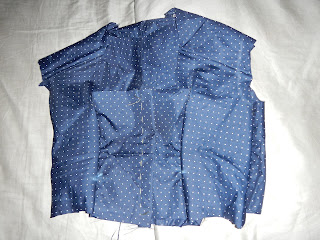
So if you're planning to use expensive cloth, you want to make a muslin first. That white thing is the pants pattern made out of cheap, muslin cloth so that it can be adjusted until it's exactly right, and then the real pants can be made out of the gray cloth underneath.Oddly enough, not everyone is exactly the size of the pattern. So where you don't line up with the pattern, you fix the muslin, thus giving you a new and perfectly accurate model. For example, after I cut the muslin for this, I tried the muslin on. I will spare you the sight of my gut, but the pants fit somewhat like the pencil drawing on the right, and not like the lady in the picture.

Also, this pattern is great. It's printed up on real paper, not tissue paper, and has exceedingly clear instructions. Lots of the commercially-produced patterns I've bought can be pretty unclear, and rather Germanic in their explanations of how to sew the item together.

So, adjust the measurements thusly:

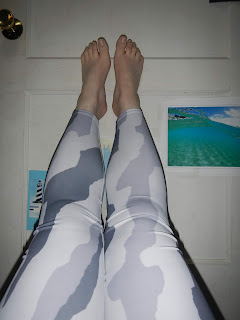
I also checked that the pants were a reasonable length on the pattern, since there are turned back cuffs, and also I have stumpy legs.

Anyway, now I have to find a 14 inch invisible zipper, and then onto the rest of the pants!
Comments
Post a Comment